|
4.1 kitchen
Interior of house is FINISHED!!!
Well finally after 5 years the interior of the house is complete. The last things that needed doing were the bathroom (see earlier posts) and the kitchen floor.
Originally we were going to continue our bamboo floor right through the kitchen but after a year of use in the studio we have found that although the bamboo itself does not scratch or dent, the polyurethane finish scratches and shows up white. We have found a product that can be used to disguise the scratches. It is called Tibet Almond Stick and it works really well. Available from My Tool Store.com approx $10.00
As our back door is the one we use constantly and we have gravel outside the likelihood of scratches was very high. Also we were worried about possible water egress around the kitchen sink area as time went on. So the search for sustainable and hardwearing floor coverings started.
Some of the coverings we looked at were:
- Rubber (natural rubber covering made in France) www.dalsouple.com.au very expensive and needs installer. Floor must be level. Around $180 per sq m plus install
- Marmoleum. All natural ingredients but again needs experienced installer. Floor must be absolutely level
- Plywood. FSC accredited, needs sealer. Can install ourselves. Floor does not need to be so level
- Cork. Recyled available. Good colour range. GECA certified. http://www.comcork.com.au/ needs to be glued
- Sheet Vinyl. Needs installing. Plasticisers to make flexible not so very environmentally friendly
- Vinyl Planking. Loose laid. DIY install. Floor can be a little uneven. Used in commercial applications. Fully recyclable. Lots of work being done by industry to make more evironmentally friendly. Around $90 sq m
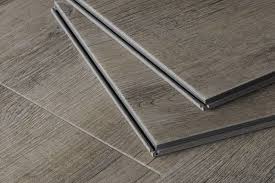
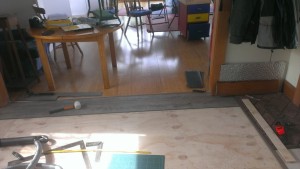
In the end we chose a product by Gerflor. Made in Europe Creation Clic is a vinyl plank product. It is loose laid over the existing floor and click into each other with a vertical groove arrangement. All that is needed for installation is a craft knife, white mallet, tape and straight edge. You can easily install it yourself.
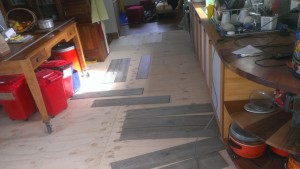
I laid 9mm plywood over our existing floor to bring it up to level with the bamboo in the studio. this evened out the slight heigh difference between the plywood in the extension and the hardwood floor in the kitchen which was not in the best condition with gaps between planks.
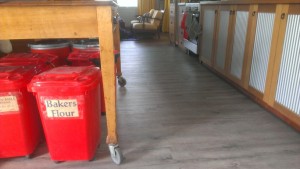
Over the plywood we laid the Gerfloor. We chose a colour called Portobello which is a bleached, denim looking plank, All the range are wood grained planks. Each plank is 1000mm long and 176mm wide and 6mm thick.
After laying the planks we fitted ramps down to the hardwood floor at the entrance to the sitting room and the hallway. Also made trims to go along the kitchen bench kickboard from scrap plywood finished with the Haymes paint rust finish and added the skirting boards. Job finished and the house finished………………apart from loads of minor jobs that is.
Now onto the garden, single garage and cladding the western side of the house!!!
Kitchen Kapers part 3
Well I have been very remiss in updating this site as time rushes past at a rate of knots.
First a slideshow to remind what was and what is
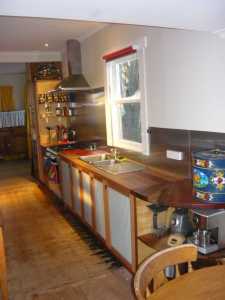
The kitchen is now completed
It all takes time stripping back old floorboards to become architraves, painting, doing the laundry (see seperate post) etc.
Just a quick recap as to how our kitchen is sustainable.
- Recycled kitchen carcasses
- Remilled timbers from demolition of original laundry/kitchen
- reused collected timbers
- Plantation Australian grown Hoop Pine Plywood
- Livos natural counter top oil
- Gilly Stephenson beeswax
- Recycled kitchen dresser
- Recycled Range Hood
- Mini orb door inserts
- Timber benchtops
- Local cabinet maker used to make and install kitchen
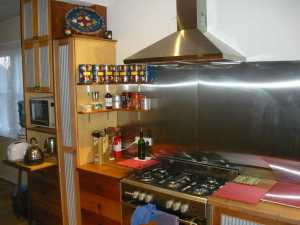
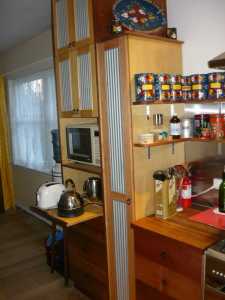
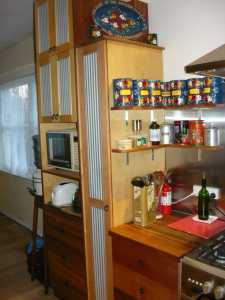
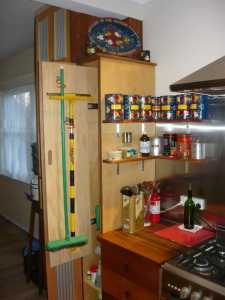
Anyway here are some pictures that will save a hundred words
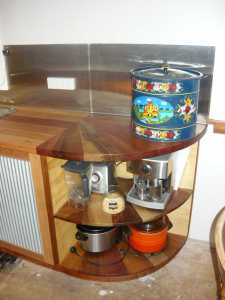
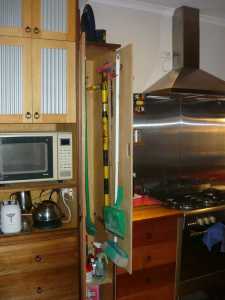
We have had sliding shelves and panels put in to make life a little easier. one carries the kettle and toaster. Slide it out, use it, slide it out of sight.
We also did this with the narrow cupboard next to this. It house brooms and mops etc and they slide out on two plywood board with hanging hooks.
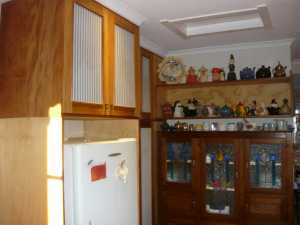
The other side of the kitchen is also finished with all the paraphernalia on display
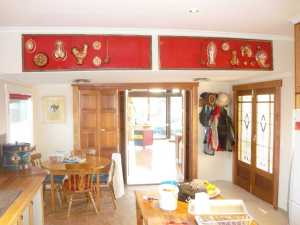
And finally looking North through to the studio
